Calibration Directory
Click the catagories below to expand the menu
First Layer Calibration Guide
Purpose
Dialing in the first layer is critical for ensuring print adhesion, dimensional accuracy, and overall print quality. A poorly calibrated first layer can result in prints failing or peeling off the bed. This guide walks you through achieving the perfect first layer.
1. Bed Preparation
Before calibration, ensure your bed is clean and ready:
- Clean the Build Plate: Remove any residue using isopropyl alcohol (IPA) for materials like PEI or glass. For adhesive surfaces, follow the manufacturer’s cleaning instructions.
- Check Bed Flatness: Inspect the bed for warping. If warped, use a mesh bed leveling system or shims to compensate.
2. Set the Z end stop to the proper distance (Only if non auto bed level)
The Z endstop determines how close the nozzle is to the bed:
- Adjust Manually or Auto-Level:
- If your printer uses manual leveling screws, adjust them so the bed is evenly leveled across all corners. Its not important how far away it is, only that all areas of the bed are the same distance away from the nozzle.
- For auto-leveling systems, ensure the probe is functioning properly. To do this just run a test and make sure its not throwing any errors.
- Test the Nozzle Distance: Use the "paper test":
- Place a piece of paper on the bed.
- Adjust the nozzle height until the paper slides with slight resistance under the nozzle.
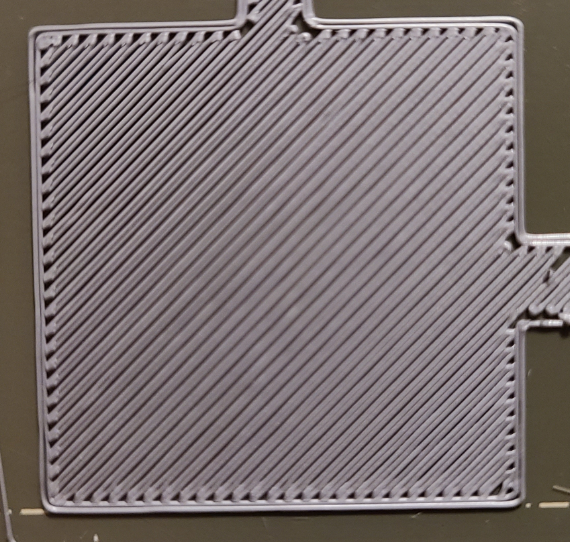
3. First Layer Test Print
Print a dedicated first-layer test pattern:
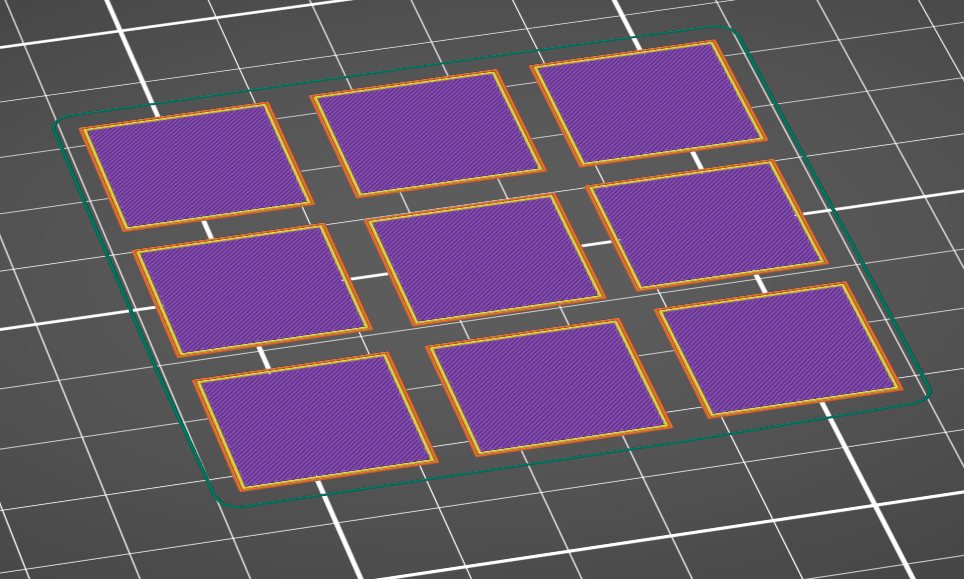
- Download or Create a Pattern: Use a pre-made calibration file like a single-layer square, grid, or lines. Click here to download a free First Layer Test Print
- Arrange the prints in a pattern similar to what's shown below. Be sure to have at least 4 or 5, 9 is better. This will give you lots of options for adjustment
4. Observe the first layer printing
You have 2 options to adjust the first layer;
- Live Adjust: This can be done from gcode/macros, your printers firmware software on the computer like Fluidd or Mainsail or the LCD screen on your printer
- Most printers have a z offset setting that could be in a couple places such as the Tune, Settings or Calibrate menu
- Use this or any of the above methods to adjust the z height while its in-between printing each object
- Adjust it in increments of 0.05 for each object
- Print and adjust: The easier of the 2 methods. Here we will print one part at a time
- Use the same first layer calibration part as before
- Only setup one on the build plate and print it
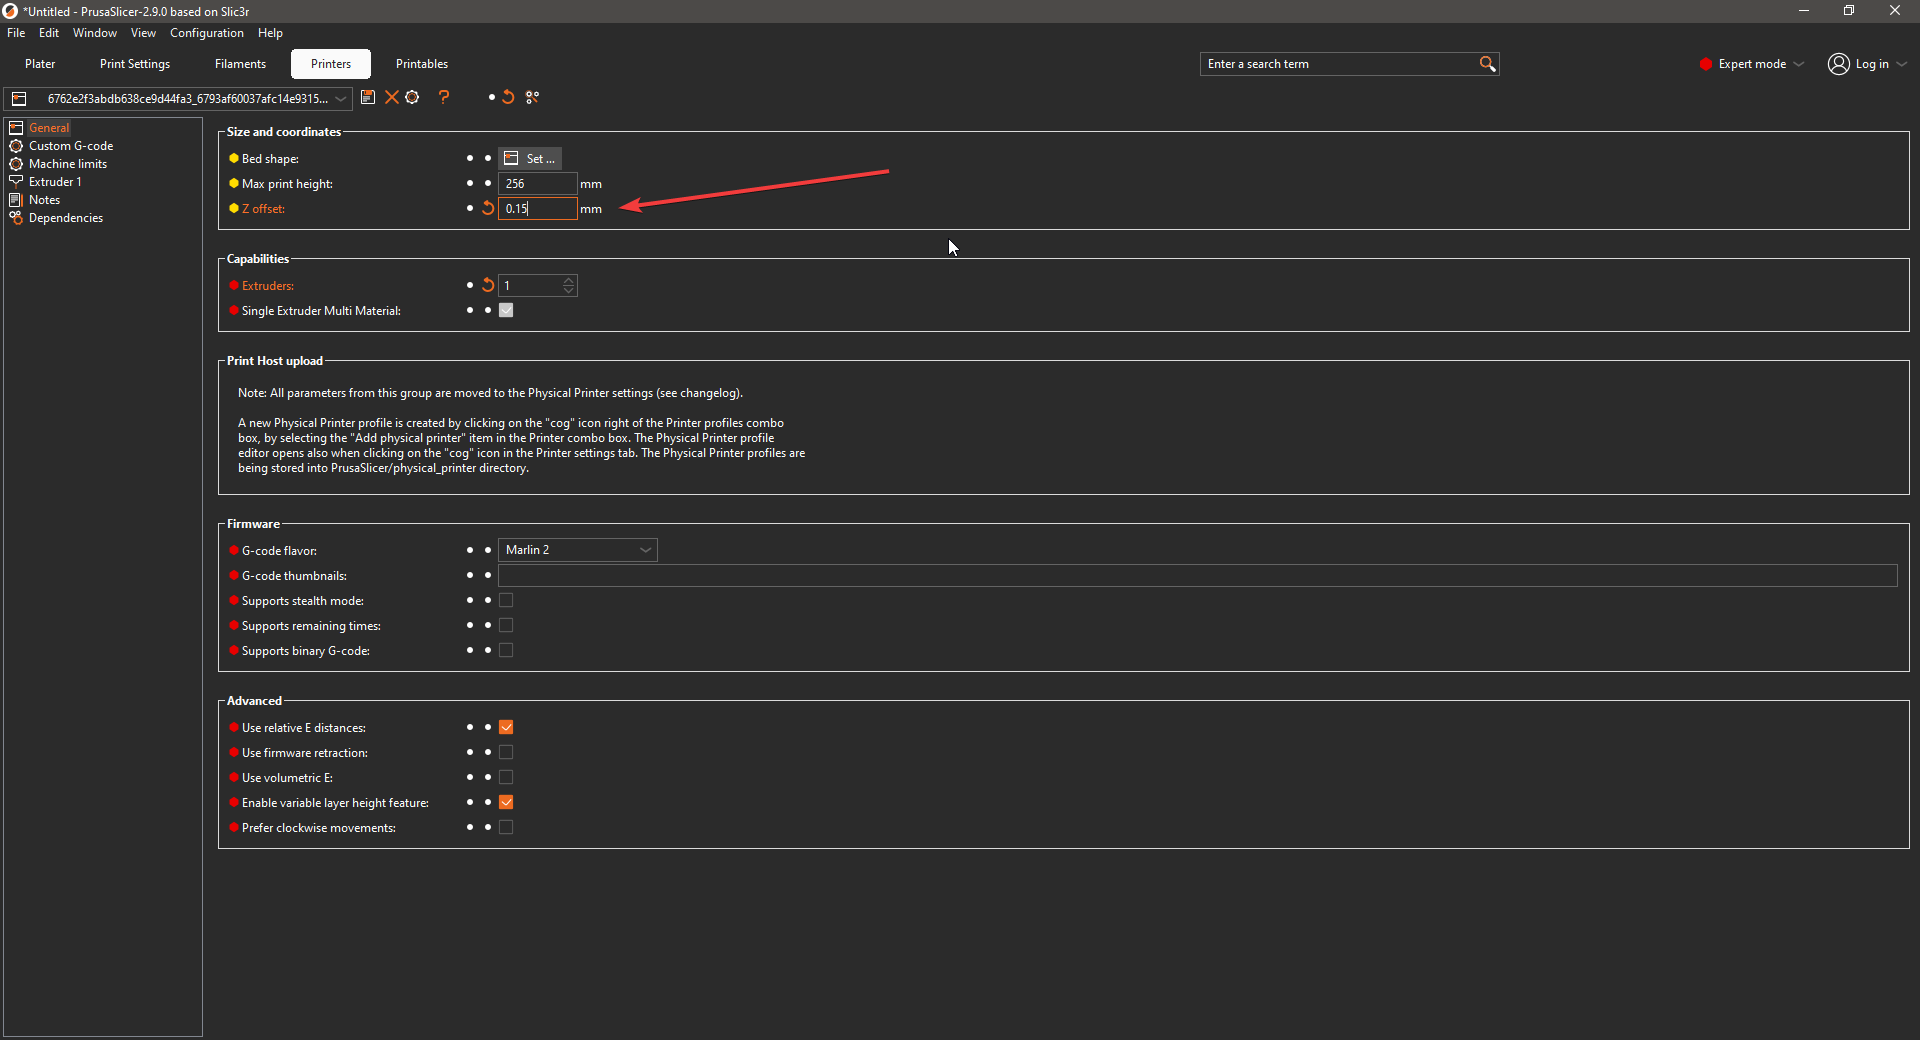
- After slice the same file but with a different z-offset. This can be found in the "Printer" tab under the "General" section.
- Use a negative number to move the nozzle closer to the bed and a non negative number to mover it higher, away from the bed
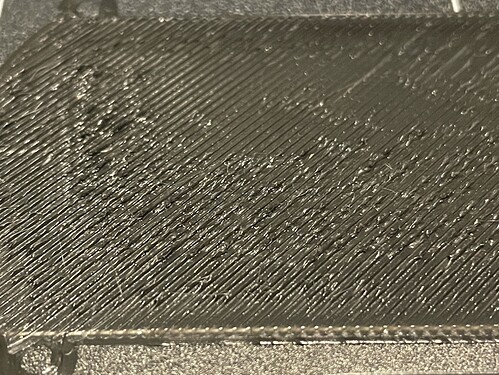
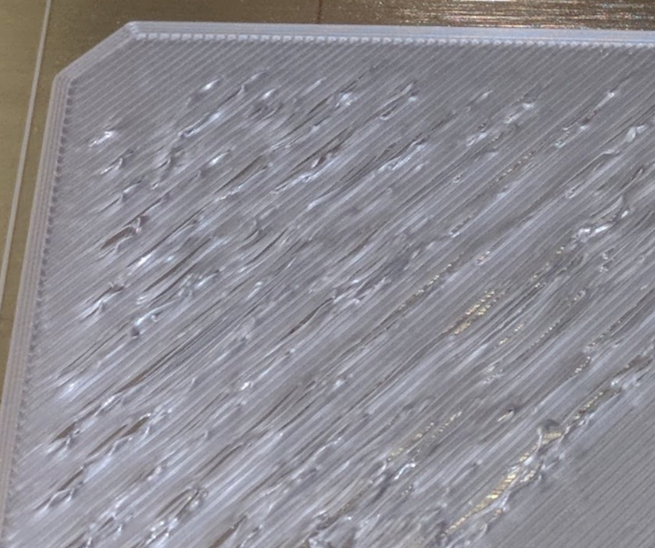
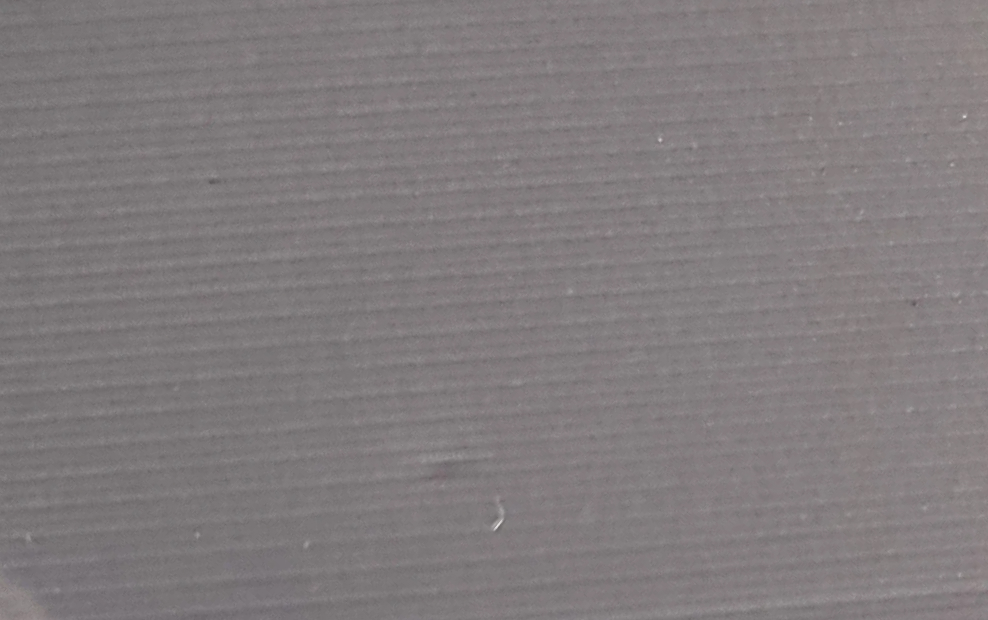
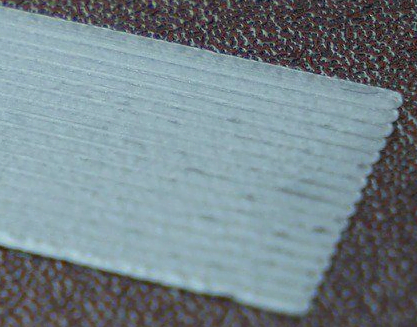
5. Interpreting Results
Now that you have printed a couple parts with different offsets we have to figure out which one makes the best first layer

As you can see from the image above we want to shoot for the perfect height.
Too Low
Attributes:
- Very thin almost transparent first layer
- Ridges where lines meet budging up
- Not printing anything at all (way too close)
- Scrapping the bed and making noise (dangerously low, STOP the print)

Perfect
Attributes:
- Uniform layer lines
- No gaps or ridges
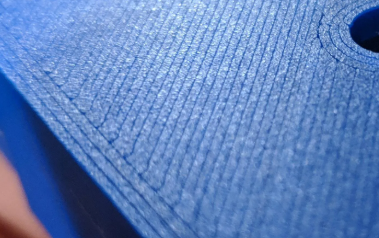
Too High
Attributes
- Gaps in the layers
- Low bed adhesion
- Bumpy

6. Troubleshooting First Layer Issues
Refer to the following common issues and their solutions:
| Issue | Symptoms | Solution |
|---|---|---|
| Nozzle Too High | Lines look thin, incomplete, or don't stick to the bed. | Lower the Z offset slightly in small increments. |
| Nozzle Too Low | Lines are squished, rough, or uneven. | Raise the Z offset slightly in small increments. |
| Uneven Layer Thickness | Inconsistent thickness across the bed. | Re-level the bed or recalibrate the probe. |
| Poor Adhesion | Print doesn't stick to the bed. | Clean the bed, increase bed temperature, or apply adhesive (if required). |
| Elephant Foot | First layer bulges out at the edges. | Reduce bed temperature slightly or adjust the Z offset higher. |
7. Additional less important settings
Generally you can get away with printing with the regular settings and not changing anything other than z offset. However sometimes if you need more bed adhesion you can try the following.
- First Layer Height: Use a slightly thicker first layer (e.g., 0.2–0.3 mm) to improve adhesion.
- Print Speed: Slow down the first layer (e.g., 20–30 mm/s) for better accuracy.
- First Layer Temperature: Increase nozzle and bed temperature by 5–10°C for better stickiness.