How to fix stringing in a 3D printed part

Trevor Haas
TL:DR
- Adjust Retraction Settings: Increase retraction distance and speed to pull filament back and prevent oozing.
- Lower the Temperature: Reducing nozzle temperature by a few degrees can help stop excessive filament flow.
- Dry Your Filament: Moist filament leads to stringing—store it properly or use a filament dryer.
- Advanced Fixes: Techniques like coasting, wiping, and Z-lift can further minimize stringing by controlling filament flow at the end of print moves.
AI 3D Printing Calibration
Upload a .3mf file and use AI to generate optimal print settings and optimize 5 print quality features at the same time
Background: What is stringing or oozing
If you’ve been 3D printing for a while, you’ve likely run into stringing—that annoying webbing of fine filament strands left between parts of your print. Fortunately, stringing is fixable, and with a few adjustments, you’ll see improvements. In this guide, I’ll take you through the most effective ways to reduce stringing, both manually and with the help of AI calibration software that can automate the process and save you time.
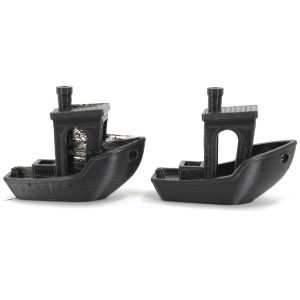
Stringing, also known as "oozing," happens when your printer nozzle continues extruding filament during non-print movements, leaving thin strands behind. It’s most often caused by incorrect retraction settings, high nozzle temperatures, or even moisture in the filament.
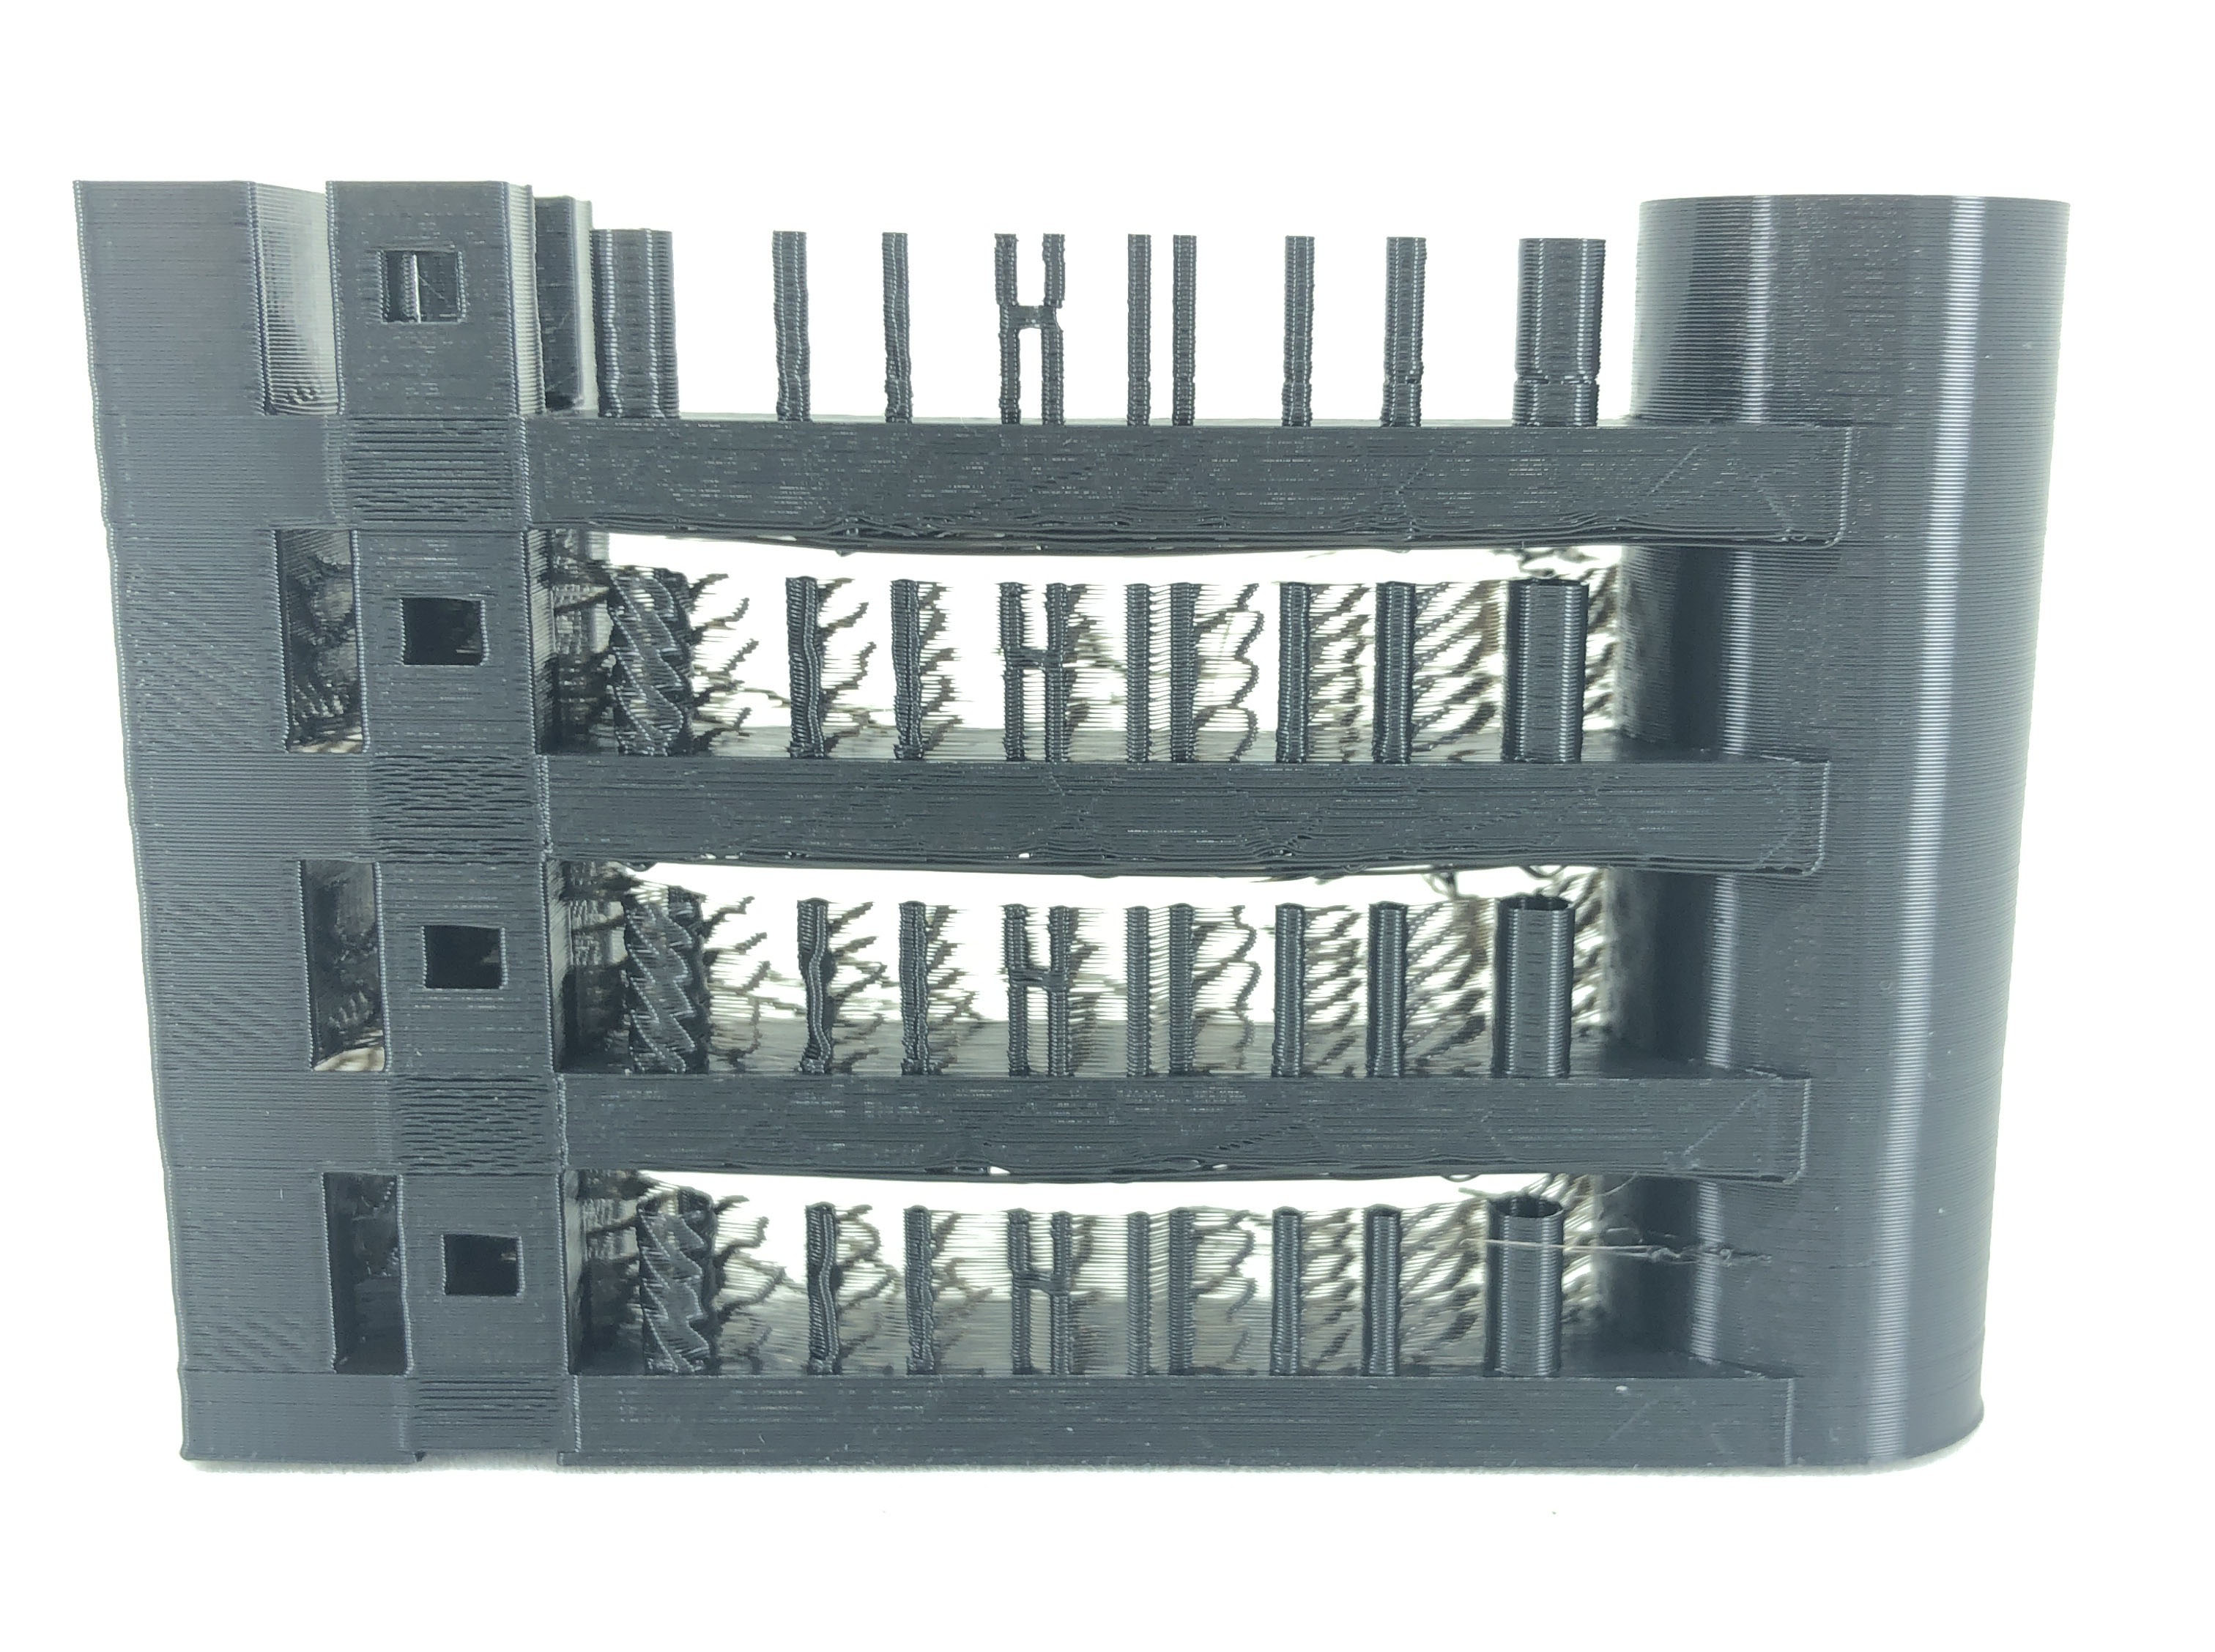
Fixing Stringing Manually
You can absolutely fix stringing by tweaking your printer’s settings. Here’s a breakdown of the core adjustments:
- Retract That Filament
-
- Increase Retraction Distance: Pulling the filament back into the nozzle during travel moves reduces the likelihood of oozing.
- Boost Retraction Speed: A quicker retraction can minimize how much filament is left to string across your print.
- Lower the Temperature
-
- Turn Down the Heat: High nozzle temperatures make filament flow more easily, which can lead to stringing. Try lowering your print temperature by 5-10°C, especially when using materials like PLA.
- Dry Your Filament
-
- Watch for Moisture: Filament absorbs moisture from the air, and wet filament can make stringing worse. Keep it stored properly, or use a filament dryer for better results.
- Increase Travel Speed
-
- Speed Up Movements: Increasing the speed at which the nozzle moves between points reduces the time the filament has to ooze.
These are quick, manual adjustments that anyone can try, but they often require some trial and error. So be prepared to print a couple small quick test prints to dial it in before taking it to larger parts.
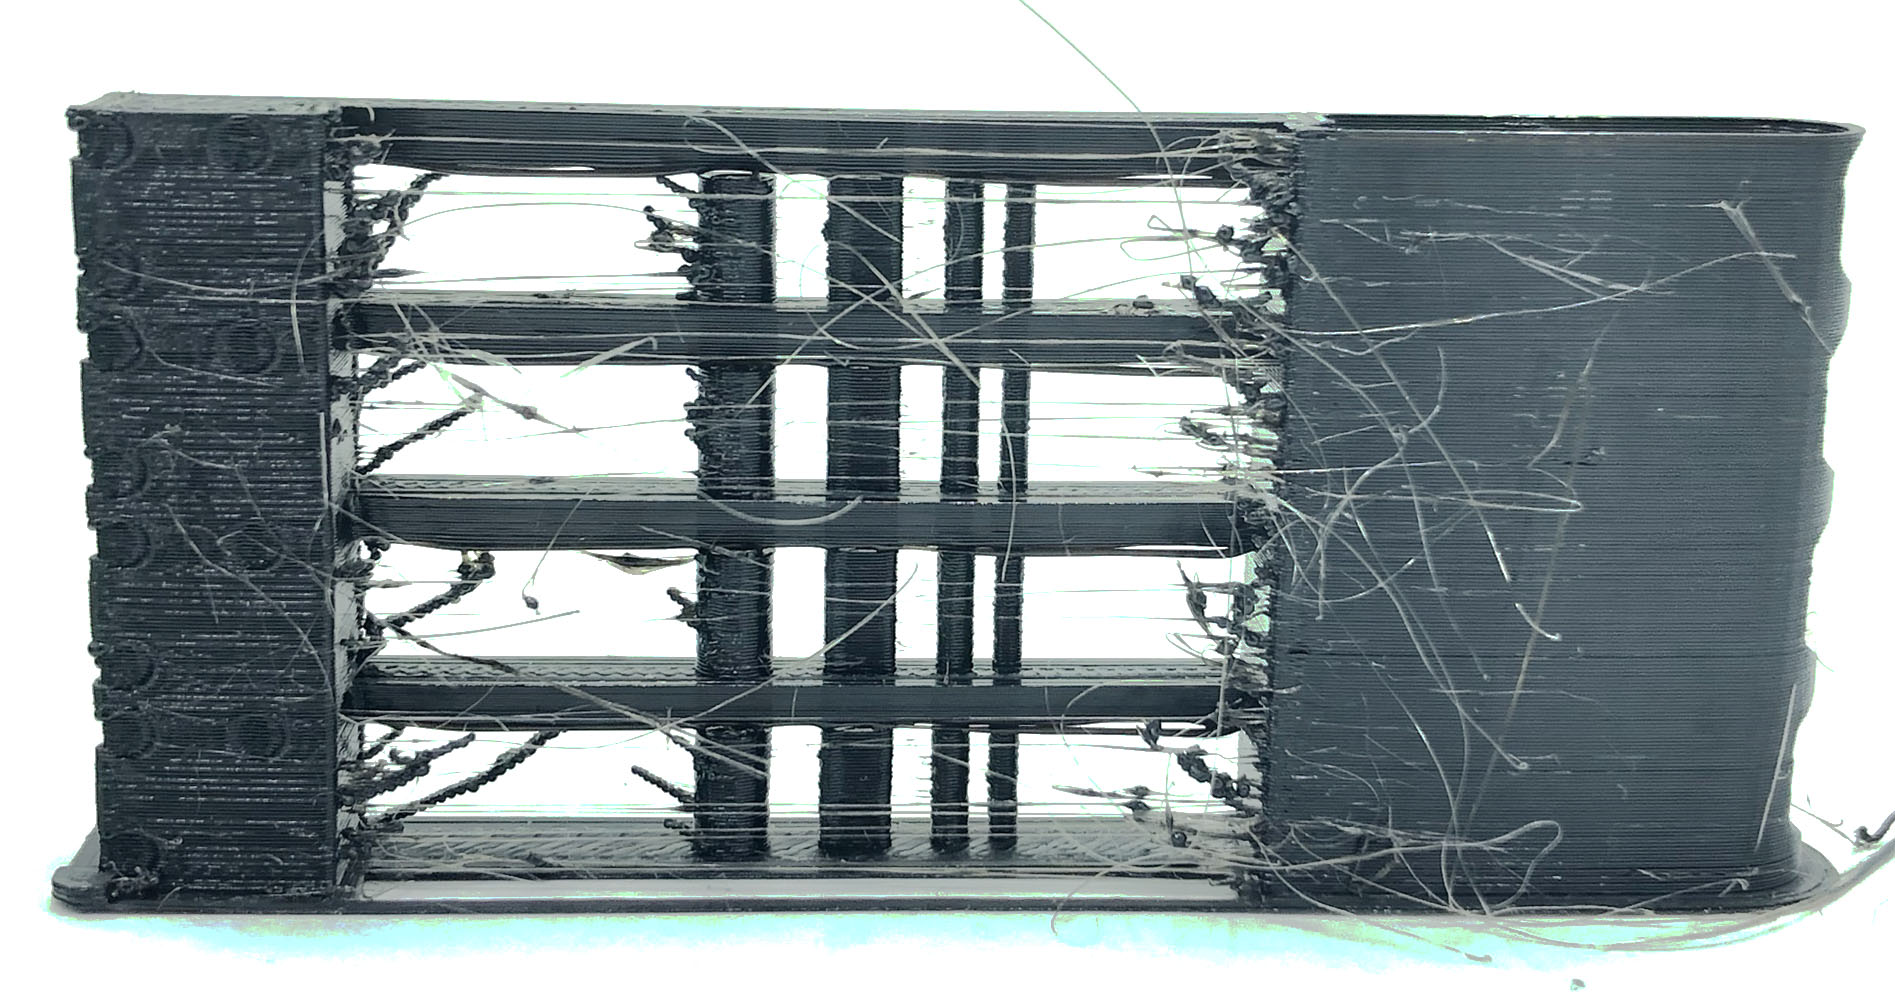
Manual vs. AI Calibration
Doing all these adjustments manually can take a lot of time—testing different retraction speeds, tweaking temperatures, and trying out new travel settings. And while that’s fine for some, most of us want a faster, more reliable way to eliminate stringing.
That’s where AI calibration comes in. Instead of manually testing each setting, our AI-powered tool automatically fine-tunes everything for you. It optimizes retraction, temperature, speed, and even more advanced settings like coasting and wiping—all at the same time. This takes out the guesswork and speeds up the process.
Advanced Fixes: Coasting, Wiping, and Z-Lift
If you’ve already tried the basic fixes but still see some stringing, there are more advanced techniques that can help:
- Coasting
-
- How It Works: Coasting stops the extrusion just before the end of a print path, reducing pressure inside the nozzle. This prevents filament from oozing out at the end of a travel move.
- Wiping
-
- How It Works: After finishing a segment, the nozzle moves back across the print to "wipe" off any extra filament, reducing leftover strands that can cause stringing.
- Z-Lift
-
- How It Works: Z-lift raises the nozzle during travel moves, preventing the nozzle from dragging across the print and reducing the chances of stringing between tall parts.
These settings can be difficult to get right manually, but our AI calibration tool optimizes them automatically, applying just the right adjustments to eliminate stringing.
Consider Different Filament Types and Moisture
Not all filaments behave the same when it comes to stringing. PLA might respond well to simple retraction tweaks, but filaments like PETG or TPU often require more advanced adjustments. One common issue is moisture in the filament, especially with PETG. Including a tip for properly storing filament (in a sealed container or filament dryer) is essential to help users avoid stringing caused by excess moisture. Below shows a basic dry box I made using some clear storage bins from target. If you google dry box for 3D printing you will come accross many different desgins, too many to talk about in this article.
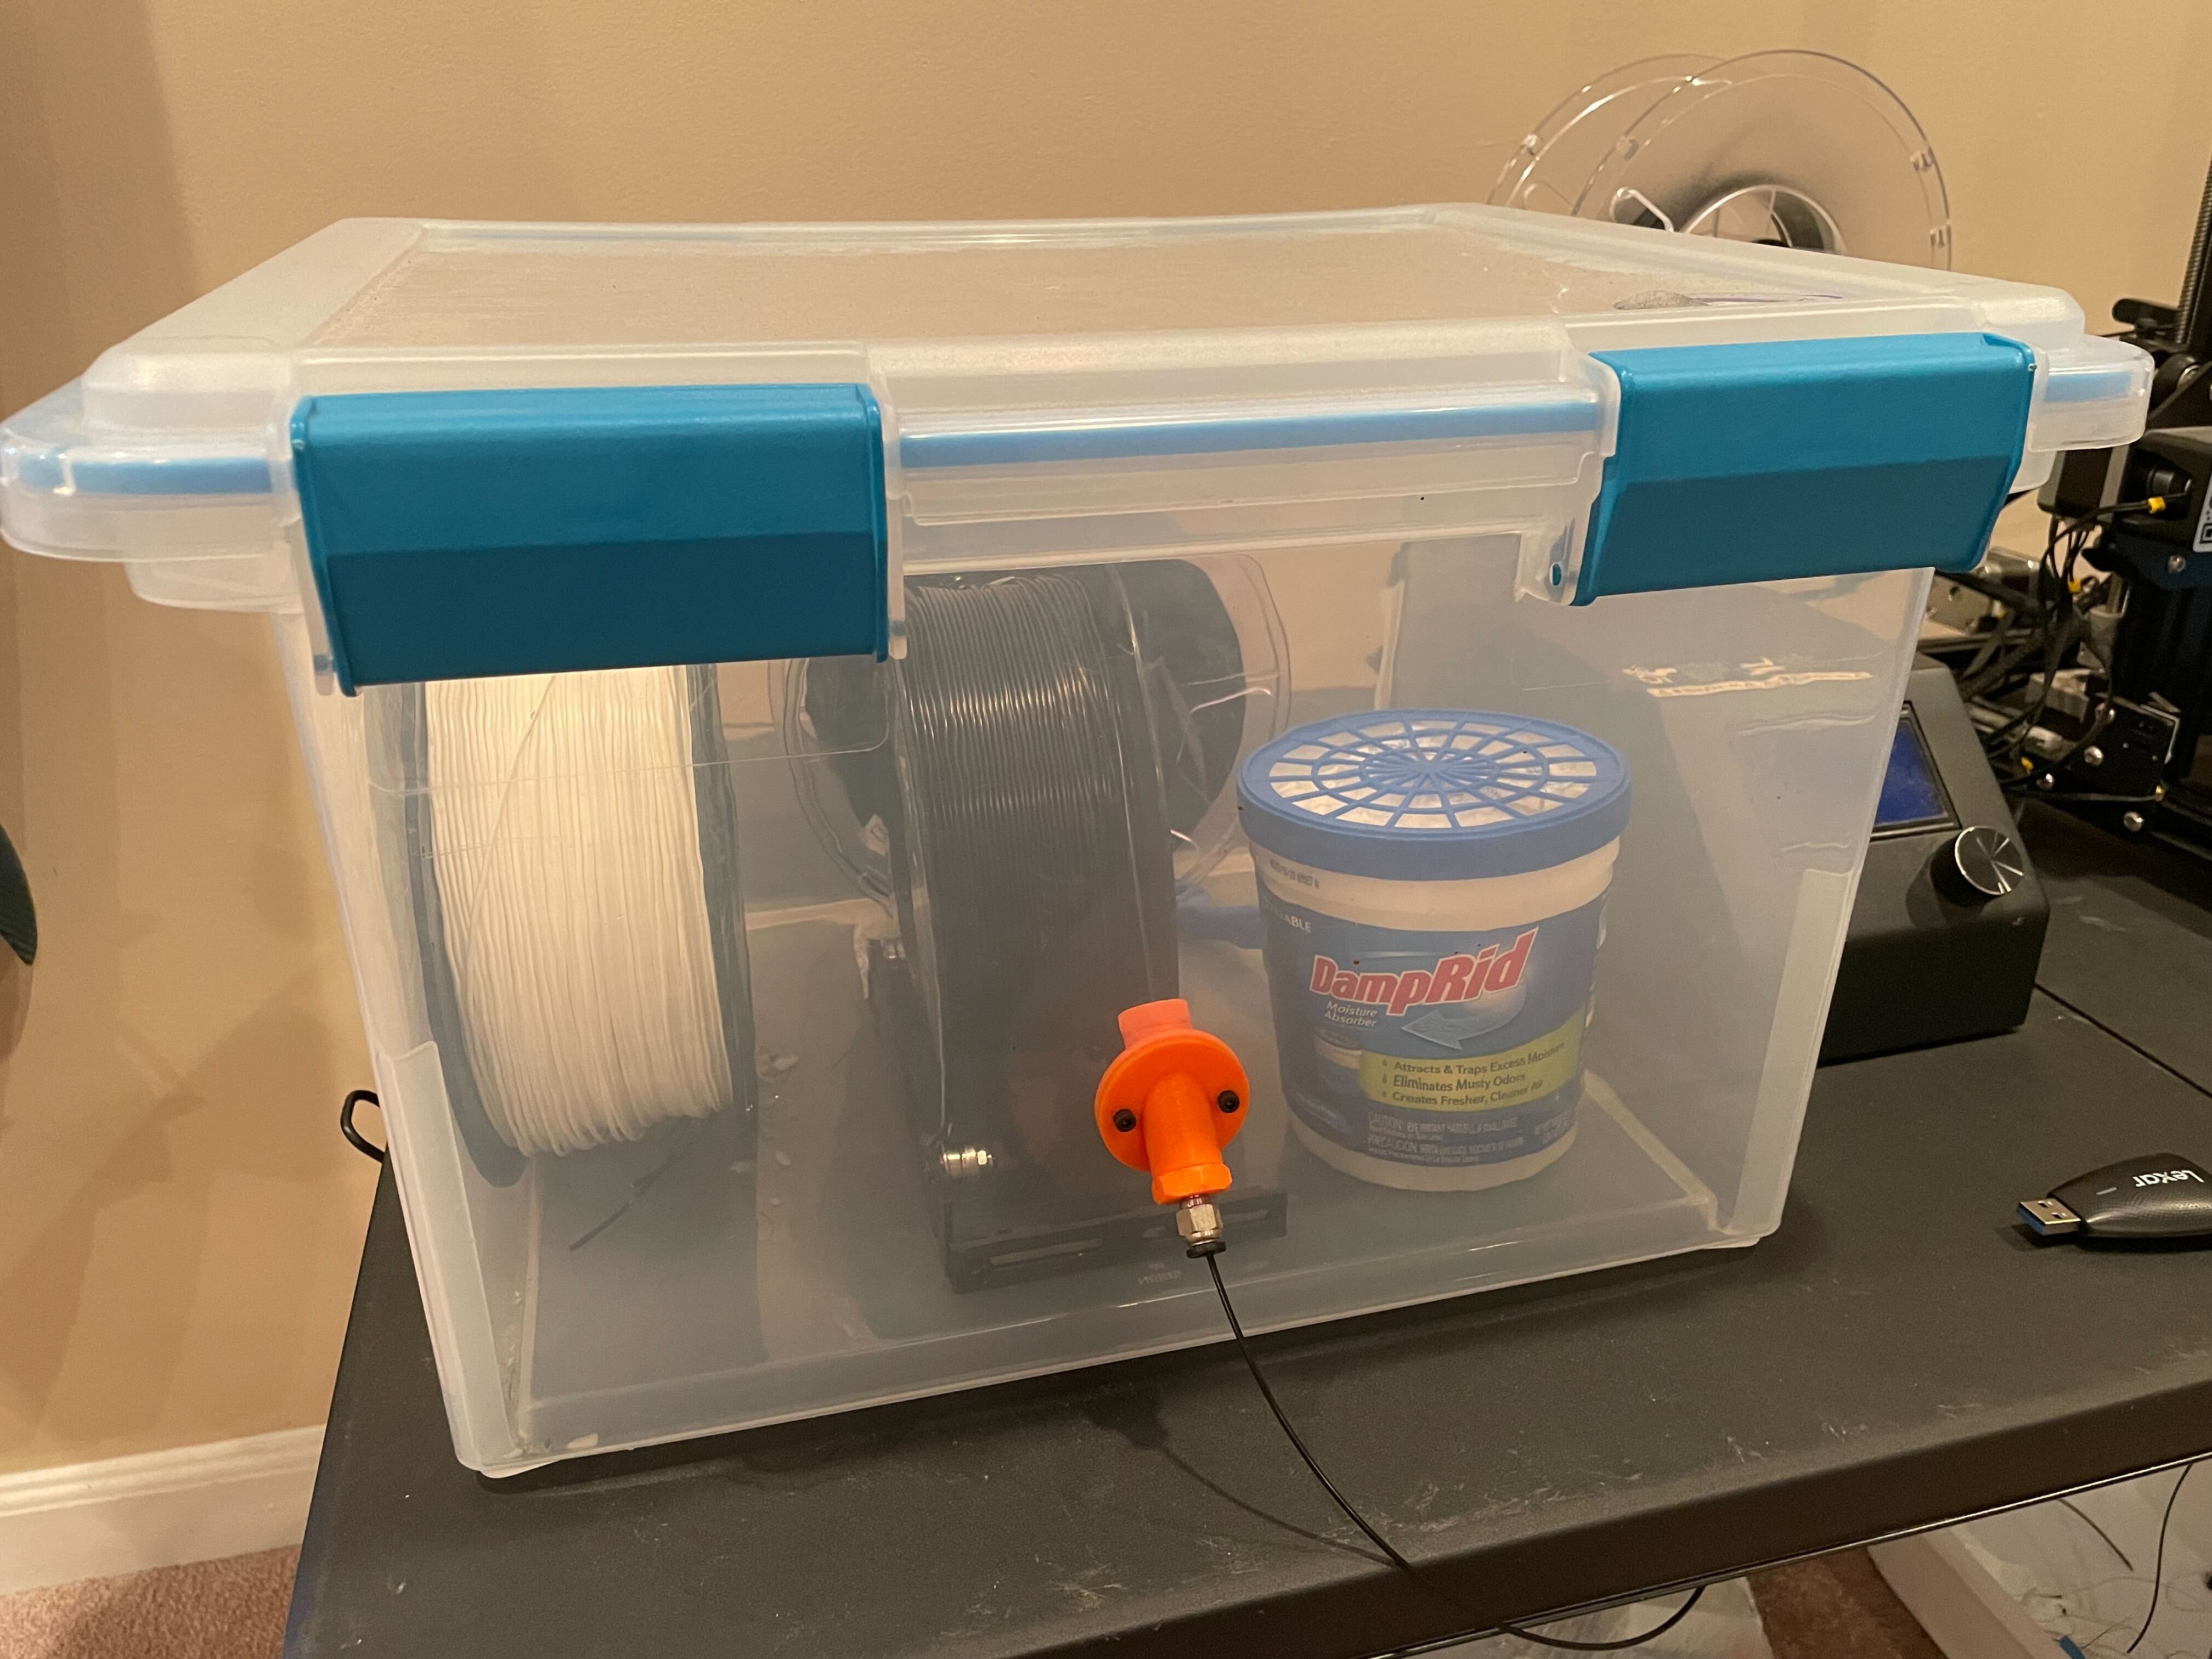
Our AI calibration software takes filament type and condition into account, automatically adjusting retraction and temperature settings based on the material you’re using.
Real-World Testing: Use Calibration Models to Track Progress
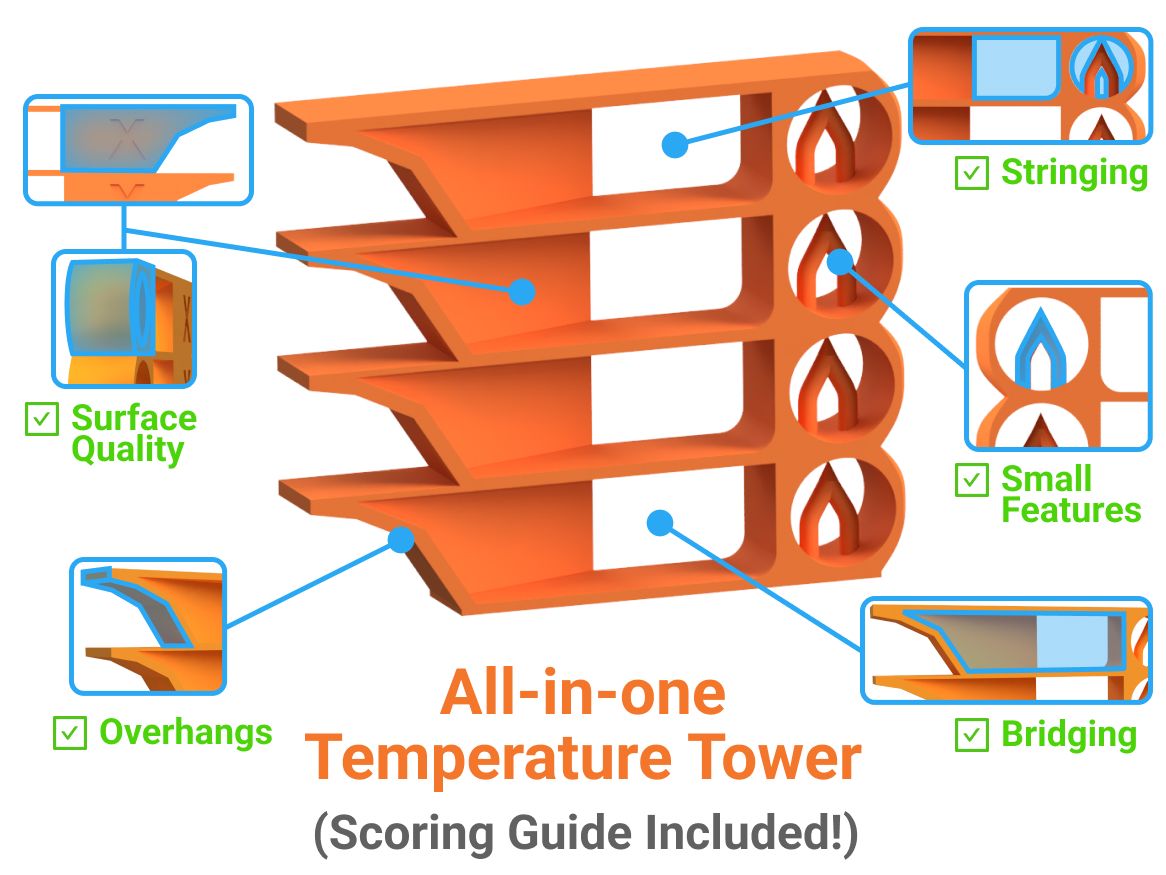
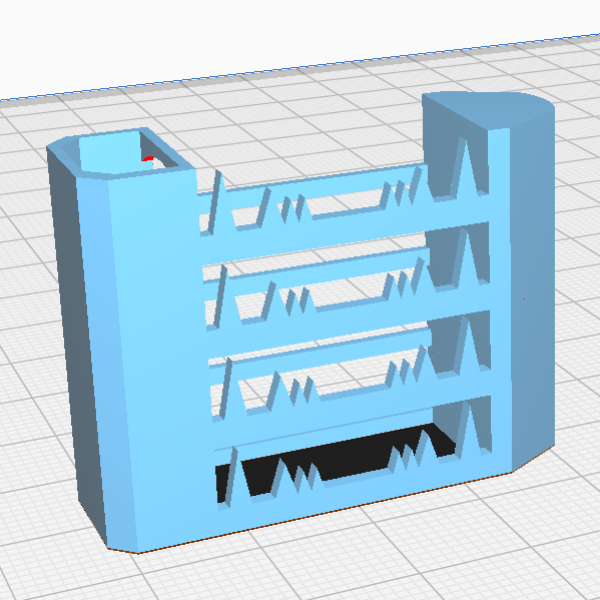
One way to keep track of how well your adjustments are working is by printing stringing test models. These models help identify areas where stringing is occurring and show how different settings impact the print quality. Try temperature towers and retraction test models to dial in settings manually. For quicker results, our AI tool analyzes these factors automatically and fine-tunes settings with minimal effort.
Conclusion: Say Goodbye to Stringing
Stringing is one of the most common issues in 3D printing, but with a few well-placed adjustments—and the help of our AI calibration software—you can get rid of it and achieve smoother, cleaner prints. Whether you prefer manual tweaking or want to let AI do the work, eliminating stringing is within reach.
Ready to see the results for yourself? Try our AI calibration tool today and stop wasting time on trial and error.
Related Articles
Learn more about inTinker

3mf Print Profiles
Save a Prusa Slicer 3mf file and upload it to inTinker to use those exact settings and presets in every calibation.

AI Calibration Pipeline
Calibrate all major features including Stringing, Surface Quality, Small Features, Bridging and overhangs all in the same print, all at the same time with AI.


